Install API
Note
You will need Visual Studio 2013 and PostMan
Download RESTful API middleware
Create a blank solution, e.g. integrations. At the command line cd in the directory Visual Studio created.
Create a sub folder named src. cd into this folder.
You can clone the dataconnector git repository by:
git clone git@github.com:qualtrak/data-connector-api.git
Next, please clone our sample recorder connector:
git clone git@github.com:qualtrak/recorder-qa.git
This connector is what we use when we carry out our QA.
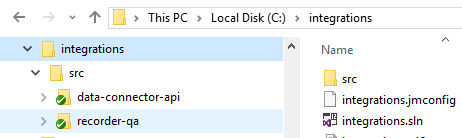
Your folder structure will now look like this:
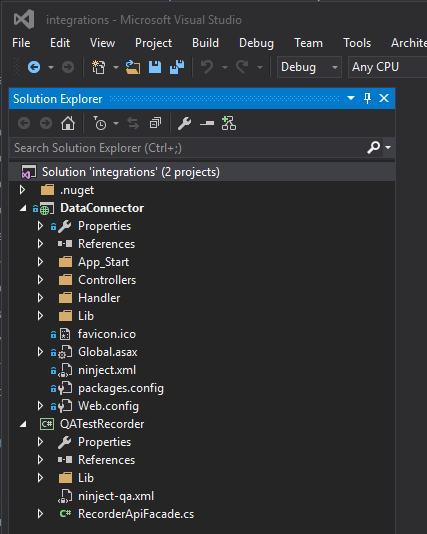
Next, add these 2 projects. Your solution will look similar to this:
Hint
If you are prompted to restore packages from nuget, accept.
Build the solution
Select the solution name in the Solution Explorer, right-click and enable Nuget
Hint
If you get an nuget error at this stage, clear the nuget cache by:
Now build the solution.
Next, navigate to the recorder-qa\bin\Debug folder and copy the QATestRecorder.dll binary then paste it into data-connector-api\bin folder.
Important
When you develop your own recorder you must update the mappings in the ninject.xml file. More on this later.
We don’t have to change the ninject.xml file now as the default contains the mappings to this QATestRecorder assembly.
Finally, rebuild the solution. You are now ready to run and serve up the DataConnector RESTful API.
Confirm middleware deployment works
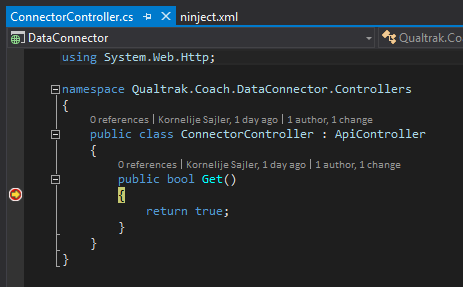
Expand the Controllers folder in DataConnector project and open the ConnectorsController class. Place a brakepoint on the Get method.
Select the DataConnect project, right-click and Set as StartUp Project. Now run the solution.
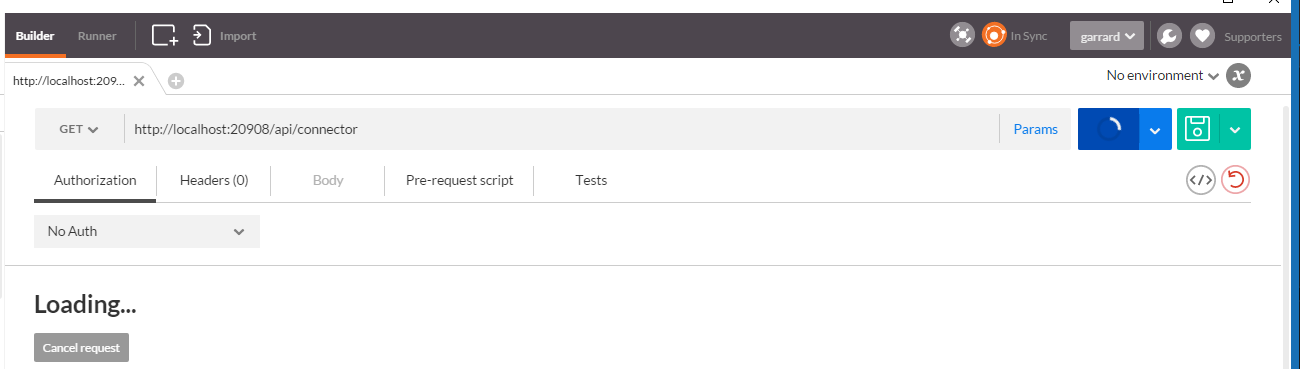
Copy the address, in my example it is http://localhost:20908/api/connector, into PostMan and press Send:
You’ll see the breakpoint hit:
Well done!! You have successfully downloaded, restored the required nuget packages, built and run the data connector middleware and hit a breakpoint into the sample recorder connector.