Create your Connector
Here you will be shown how to build and test your connector.
How to create a connector
Add a new project to your Visual Studio solution. For ease, reuse the QATestRecorder code but remove all the code in the methods and leaving the method signatures in play.
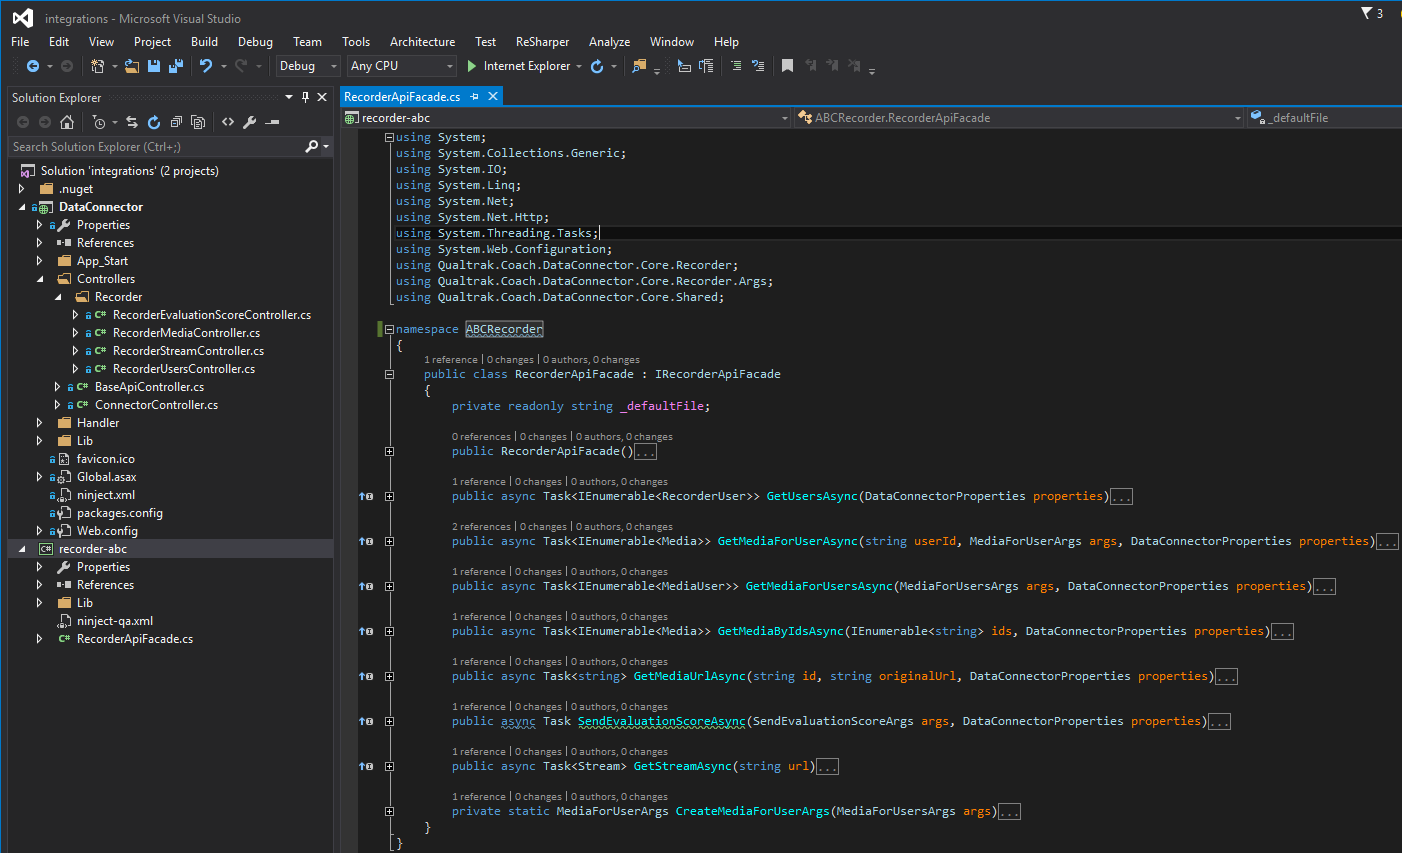
I have created a new connector and called the project recorder-abc with the namespace of ABCRecorder:
How to interpret method parameters
Important
When a Schedule is being processed the username and password parameters are those that have been configured for your recorder. When a search is run from the Evaluation Form, the username and password are those of the user that is currently logged in.
Connector methods:
Important
When you have built your recorder, copy its binary and any other binary that is required into the data-connector-api\bin folder before you host the DataConnector
Danger
You must not forget this next step. Failing to do so will result in your Data Connector not being called by the RESTful API middleware.
We use an IoC container called Ninject. Ninject needs to know how to call into to your implementation. We use an xml file to provide this information to Ninject. This file is found in the root folder of DataConnector project and is called ninject.xml.
You are required to change the to attribute. Here in this example we see that our namespace is ABCRecorder.RecorderApiFacade and the assembly name is ABCRecorder :
1 2 3 4 5 | <?xml version="1.0" encoding="utf-8" ?>
<module name="RecorderConfigurationModule">
<bind service="Qualtrak.Coach.DataConnector.Core.Recorder.IRecorderApiFacade, Qualtrak.Coach.DataConnector.Core"
to="ABCRecorder.RecorderApiFacade, ABCRecorder" />
</module>
|
Important
Now copy the ninject.xml file into the data-connector-api\bin folder before you host the DataConnector